


Table of Contents
- What You'll Need Before You Start
- Choosing the Best Photo Blanket Materials
- Preparing High-Resolution Photos for Blankets
- Selecting Your Design Template and Layout
- Custom Blanket Design Software and Tools
- Adding Text, Embroidery, and Personal Elements
- Personalized Blanket Gift Ideas for Every Occasion
- Common Design Mistakes to Avoid
Last Updated: August 21, 2026
What You'll Need Before You Start
Before uploading anything, gather high-resolution photos, a design tool that supports blanket customization, and a clear vision of your final product. Spend 15 minutes planning your layout, text placement, and color scheme before opening any software.
You'll also need a computer with a modern web browser and reliable internet. Desktop or laptop access provides the screen space and precision needed for detailed blanket design work.
Collect any reference images or inspiration nearby. If creating a personalized gift, having photos of the recipient or meaningful moments ready speeds up the design process significantly.
Choosing the Best Photo Blanket Materials
The material you choose defines how your design will look and feel, affecting color vibrancy, durability, and comfort.
Fleece blankets are the most popular choice for personalized designs. Fleece is soft, warm, and holds color well through repeated washing. It's affordable and works beautifully for photo printing, though it can pill over time with heavy use.
Plush and mink blankets offer a more luxurious texture. Mink blankets have a silky quality that fleece can't match. They're pricier but justify the cost for special occasions and resist pilling better than standard fleece.
Woven cotton blends provide a traditional blanket feel. They're breathable, durable, and age well, working best when you want a blanket that feels like a heirloom rather than a novelty item.
Digital printing on fleece creates sharp, vibrant images. The same design on a cotton blend might look slightly more muted but will feel more substantial. Think about intended use: a child's room might call for fleece, while a master bedroom might suit plush or cotton.
Preparing High-Resolution Photos for Blankets
This is where most custom blanket projects fail. Photos that look fine on a phone turn into pixelated disasters when printed at blanket size.
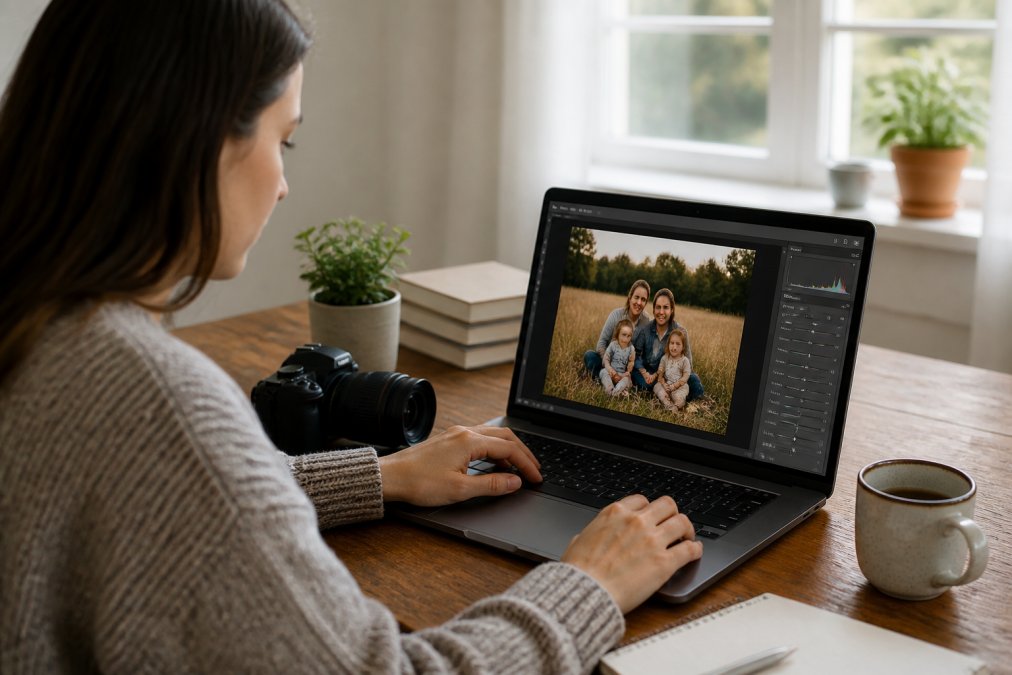
Resolution basics: A high-resolution photo for blanket printing needs to be at least 300 DPI (dots per inch) (adobe.com). Your phone camera likely captures photos at 72 DPI, which is fine for screens but terrible for print (adobe.com). When you enlarge a 72 DPI image to blanket size, the software creates blurriness and pixelation.
Most design platforms will warn you if your image resolution is insufficient. Don't ignore it. Either find a higher-resolution version or choose a different photo.
Avoid heavily compressed images from social media. These platforms compress files to save bandwidth, destroying detail. If pulling photos from Instagram or Facebook, download the highest-quality version available. Screenshots are almost always too low-resolution.
Crop and frame your photos before uploading. Decide what portion of the image you actually want on the blanket. Landscape orientation works well for wide blankets, while portrait orientation suits smaller throws.
Test your photo's quality by zooming in 200% on your computer. If it looks sharp and detailed at that magnification, it will likely print well.
Selecting Your Design Template and Layout
Most blanket customization platforms offer pre-designed templates that handle the technical work of fitting your design to the blanket's dimensions.
Understanding Orientation and Dimensions
Blankets come in standard sizes with optimal photo arrangements. A throw blanket (typically 50" x 60") works best with a single large photo or small collage. A full-size blanket (60" x 80") can handle multiple photos or more complex layouts.
Portrait orientation works best for single-photo designs. Landscape orientation suits multi-photo collages or designs with horizontal text. Most platforms show exact dimensions before you commit.
Working with Design Templates
Templates ensure your photos are positioned correctly and text won't get cut off at edges. A quality template includes safe zones, areas where your design is guaranteed to print fully without trimming.
When selecting a template, choose one matching your vision. If you want a simple single-photo blanket, select a template with one large photo area. If creating a photo collage, pick a multi-photo template.
Most templates allow you to swap placeholder images with your own photos. Drag your image into the template's photo area, and the software automatically scales it to fit.
Custom Blanket Design Software and Tools
Several platforms let you design custom cozy blankets online. Most feature user-friendly interfaces with drag-and-drop functionality. You upload photos, arrange them, add text, and preview the result before ordering.
Look for a platform offering multiple template options and allowing customization of colors, text fonts, and photo positioning. The ability to adjust opacity of images and layers gives you more creative control.
Pay attention to editing capabilities. Can you rotate photos? Adjust brightness and contrast? Add filters? These features let you fine-tune your design without external photo editing software.
CJmart's design tools are built specifically for creating personalized home goods. The interface is intuitive for beginners but powerful enough for detailed customization. You get real-time previews, multiple template options, and the ability to save your design and return to it later.
Adding Text, Embroidery, and Personal Elements
Text transforms a photo blanket into a personalized keepsake. The right text placement and font choice elevate a simple design into something truly special.
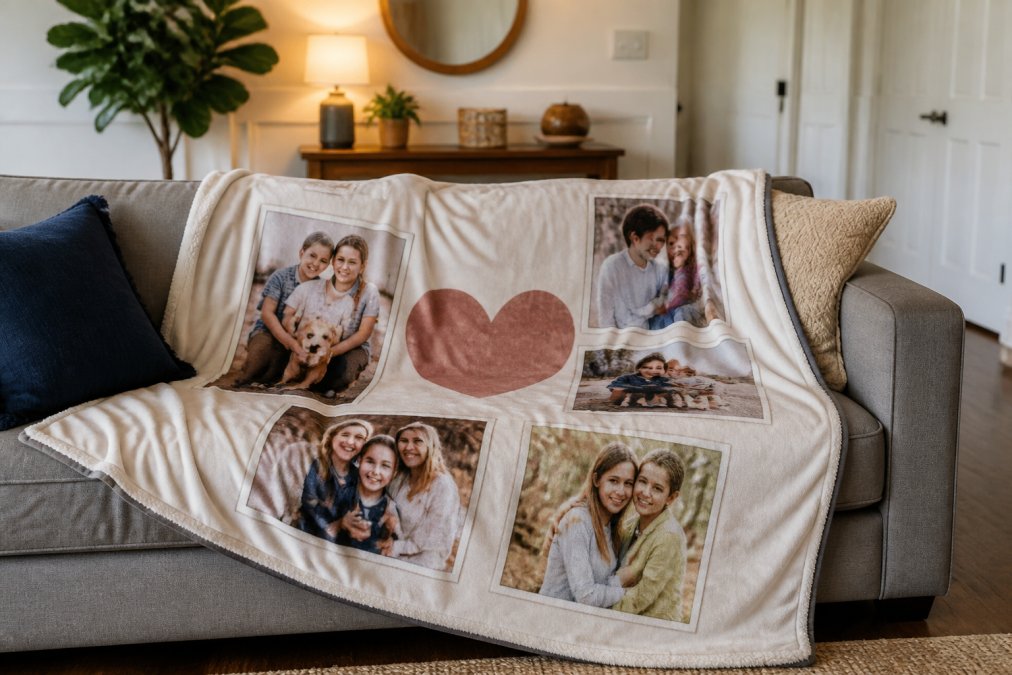
Font selection is crucial. Script fonts feel elegant and personal. Sans-serif fonts are clean and modern. Serif fonts feel traditional and formal. Choose a font matching the tone of your gift.
Keep text readable. Large text is almost always better than small text on a blanket. People view the blanket from several feet away, so what looks readable on screen might be too small in person.
Text placement matters enormously. Avoid putting text directly over faces in photos. Corner placement or text running along edges works better. Some designers use text as a border around the entire blanket, adding elegance without obscuring photos.
Color contrast is essential. Dark text on light backgrounds and light text on dark backgrounds both work. Avoid medium-colored text on medium-colored backgrounds. If your photo has mixed lighting, consider adding a semi-transparent background behind your text.
Embroidery options are available on some premium blankets. Unlike digital printing, embroidery adds a tactile element. Names or initials embroidered in the corner create a luxury feel. Embroidery works best for simple text.
Personalized elements beyond text include monograms, dates, or meaningful symbols. A wedding anniversary blanket might include the wedding date. A baby blanket could feature the birth date and baby's name.
Personalized Blanket Gift Ideas for Every Occasion
Custom cozy blankets work for nearly every milestone and relationship.
Mother's Day is perfect for a photo collage blanket featuring family moments. Include photos with children, grandchildren, or meaningful family memories. Add a heartfelt message or the year.
Wedding anniversaries call for a blanket featuring the couple's wedding photo or romantic moments together. Include the wedding date or anniversary year.
Baby gifts work beautifully as personalized blankets. Use a single beautiful photo of the newborn or a simple design with the baby's name, birth date, and weight.
Birthdays are opportunities for photo collages showing the recipient's favorite memories. Add the age or "Happy Birthday" message.
Retirement gifts can feature photos from the person's career or meaningful moments with colleagues. Include the retirement date and a heartfelt message.
Sympathy gifts are sensitive but meaningful. A blanket featuring photos of the deceased with family creates comfort during difficult times. Keep the design simple and respectful.
Family reunions work well with group photos. A blanket featuring multiple family members reminds everyone of their connection.
Common Design Mistakes to Avoid
Learning from others' mistakes prevents disappointment.
Cramming too much into the design is the biggest mistake. Simplicity wins. One or two large photos almost always look better than five small ones. White space matters.
Ignoring the safe zone causes text and important elements to get cut off at edges. Always keep important elements inside the safe zone.
Using low-resolution photos creates pixelated, blurry results. Check your photo resolution before uploading. If it's below 300 DPI, find a different image.
Poor text contrast makes text hard to read. Light text on light backgrounds and dark text on dark backgrounds both fail. Test your contrast by viewing the preview from across the room.
Forgetting about color accuracy leads to disappointment. What you see on screen might not match the printed blanket. If color accuracy is critical, order a sample first.
Choosing fonts that are too small or too decorative creates readability problems. Ornate fonts become illegible when printed at blanket size. Stick with fonts that remain clear when viewed from a distance.
Placing text over faces wastes the emotional impact of the photo. Corner placement or edge positioning works much better.
Not considering the blanket's final use leads to impractical designs. A blanket washed frequently needs durable materials and colors. Think about how the recipient will actually use the blanket.
Creating a custom cozy blanket is a meaningful way to celebrate someone important. The design process is straightforward when you understand the fundamentals: choose quality materials, prepare high-resolution photos, select a template matching your vision, and personalize with thoughtful text and elements. CJmart makes this process simple with intuitive design tools, high-quality materials, and a commitment to getting your personalized blanket exactly right. Start with your best photos, keep your design clean and focused, and you'll end up with a blanket that becomes a cherished keepsake. Learn more about custom home goods design principles to deepen your design skills, and remember that simplicity almost always outperforms complexity when it comes to personalized gifts.
Frequently Asked Questions
Q: What file resolution is best for custom photo blankets?
A: Use high-resolution images at least 300 DPI (dots per inch) to avoid pixelation on your finished blanket. For photo collage designs, each individual image should be at least 1200x1200 pixels. If uploading to a design tool, check the platform's specific resolution requirements, most recommend files between 8x10 and 50x60 inches at 300 DPI for sharp, vibrant results.
Q: Which fabric types are best for custom cozy blankets?
A: Fleece and plush materials are top choices for cozy blankets because they're soft, durable, and hold color well. Mink blankets offer premium softness and warmth. For photo printing, choose materials with tight weaves that support high-resolution digital printing and dye sublimation. Consider machine-washable options if the blanket will be used frequently. Test how different fabrics feel and perform before committing to your final design.
Q: Can I make a custom blanket with pictures and text?
A: Yes, most custom blanket design platforms allow you to combine photos, text, and decorative elements in a single design. You can create photo collages, add personalized names or dates, and use custom embroidery for text on many options. Plan your layout carefully to ensure text remains readable and doesn't overlap important parts of your photos. Preview your design before ordering to confirm the placement and sizing work well together.
Q: What design composition principles should I follow?
A: Balance your layout by distributing photos and text evenly across the blanket. Use the rule of thirds, imagine dividing your blanket into nine equal sections and place focal points along those lines. Leave adequate margins around edges to avoid important elements being cut off during printing. Maintain sufficient contrast between text and background so words remain legible. Group related photos together and use consistent spacing for a polished, intentional appearance.
This article was written using GrandRanker


